Deploy to Tencent EdgeOne
Deploy to EdgeOne
部署到 EdgeOne
Prerequisites
- A Tencent Cloud EdgeOne account
- A GitHub account (for connecting the repository)
Step 1: Deploy the application
Click the EdgeOne deploy button above and choose the international or China site:
Step 2: Set environment variables
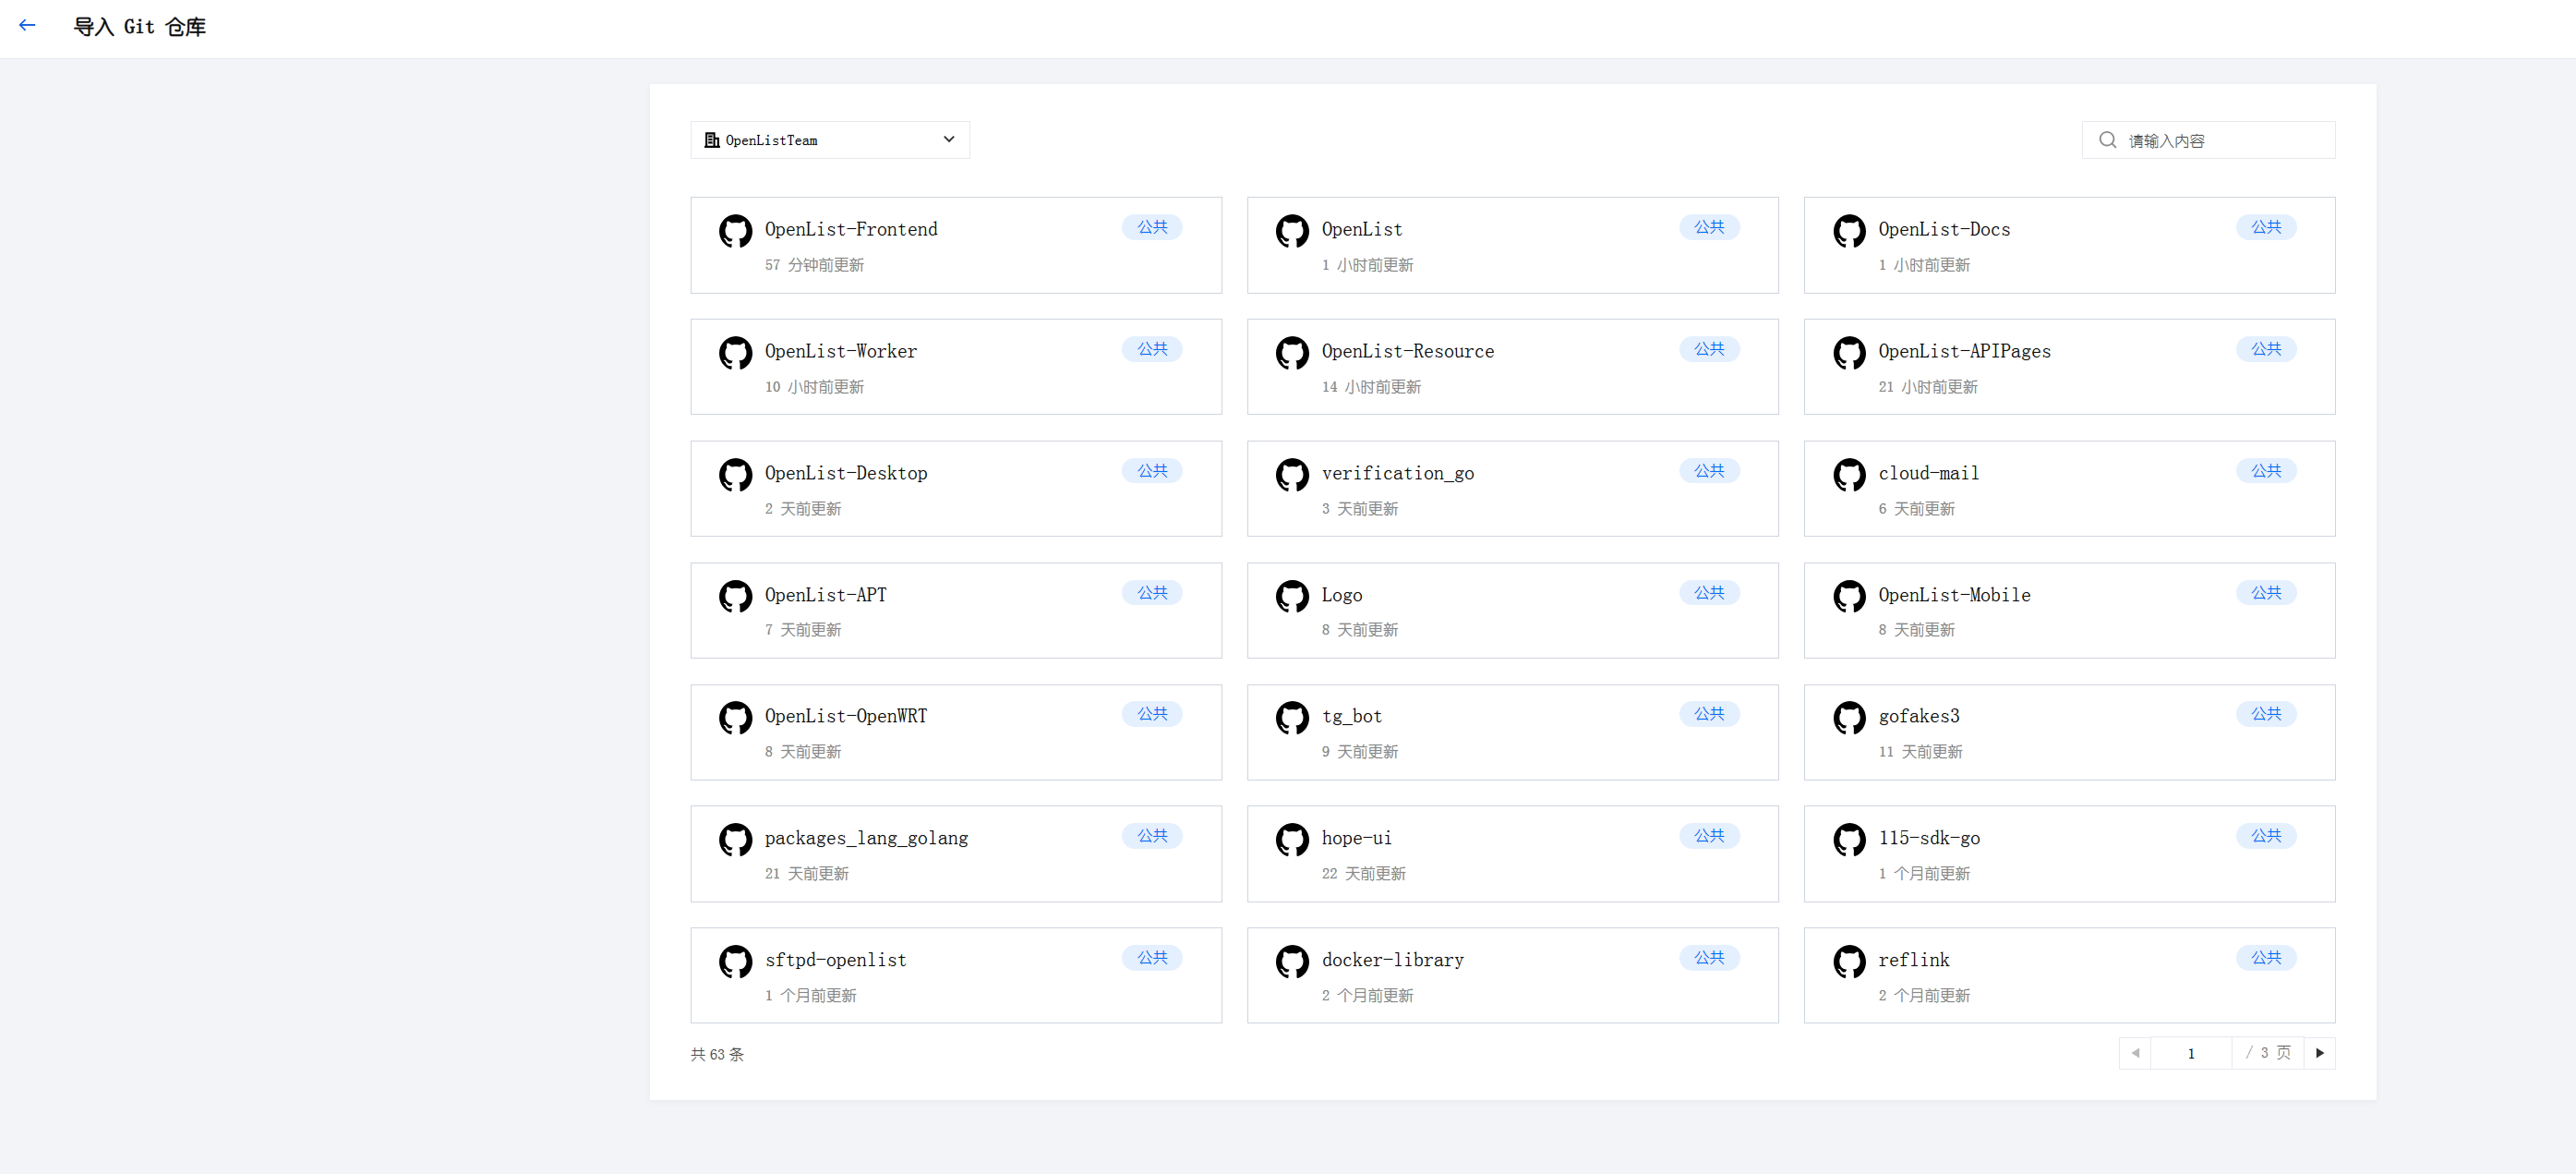
Click New application, select the forked repository, configure the variables, then click Start deployment:
Required variables (DB_FORMAT, DB_DRIVER) are described in the Environment Variables section at the end of this page.
Persistence
EdgeOne Makers uses @edgeone/pages-blob for persistence. The default auto driver auto-detects Blob, so no extra configuration is needed. You can also explicitly set:
DB_DRIVER = "blob"withDB_FORMAT = "map"(JSON storage)DB_DRIVER = "kv"withDB_FORMAT = "key"(Key-Value storage)
Step 3: Bind KV storage
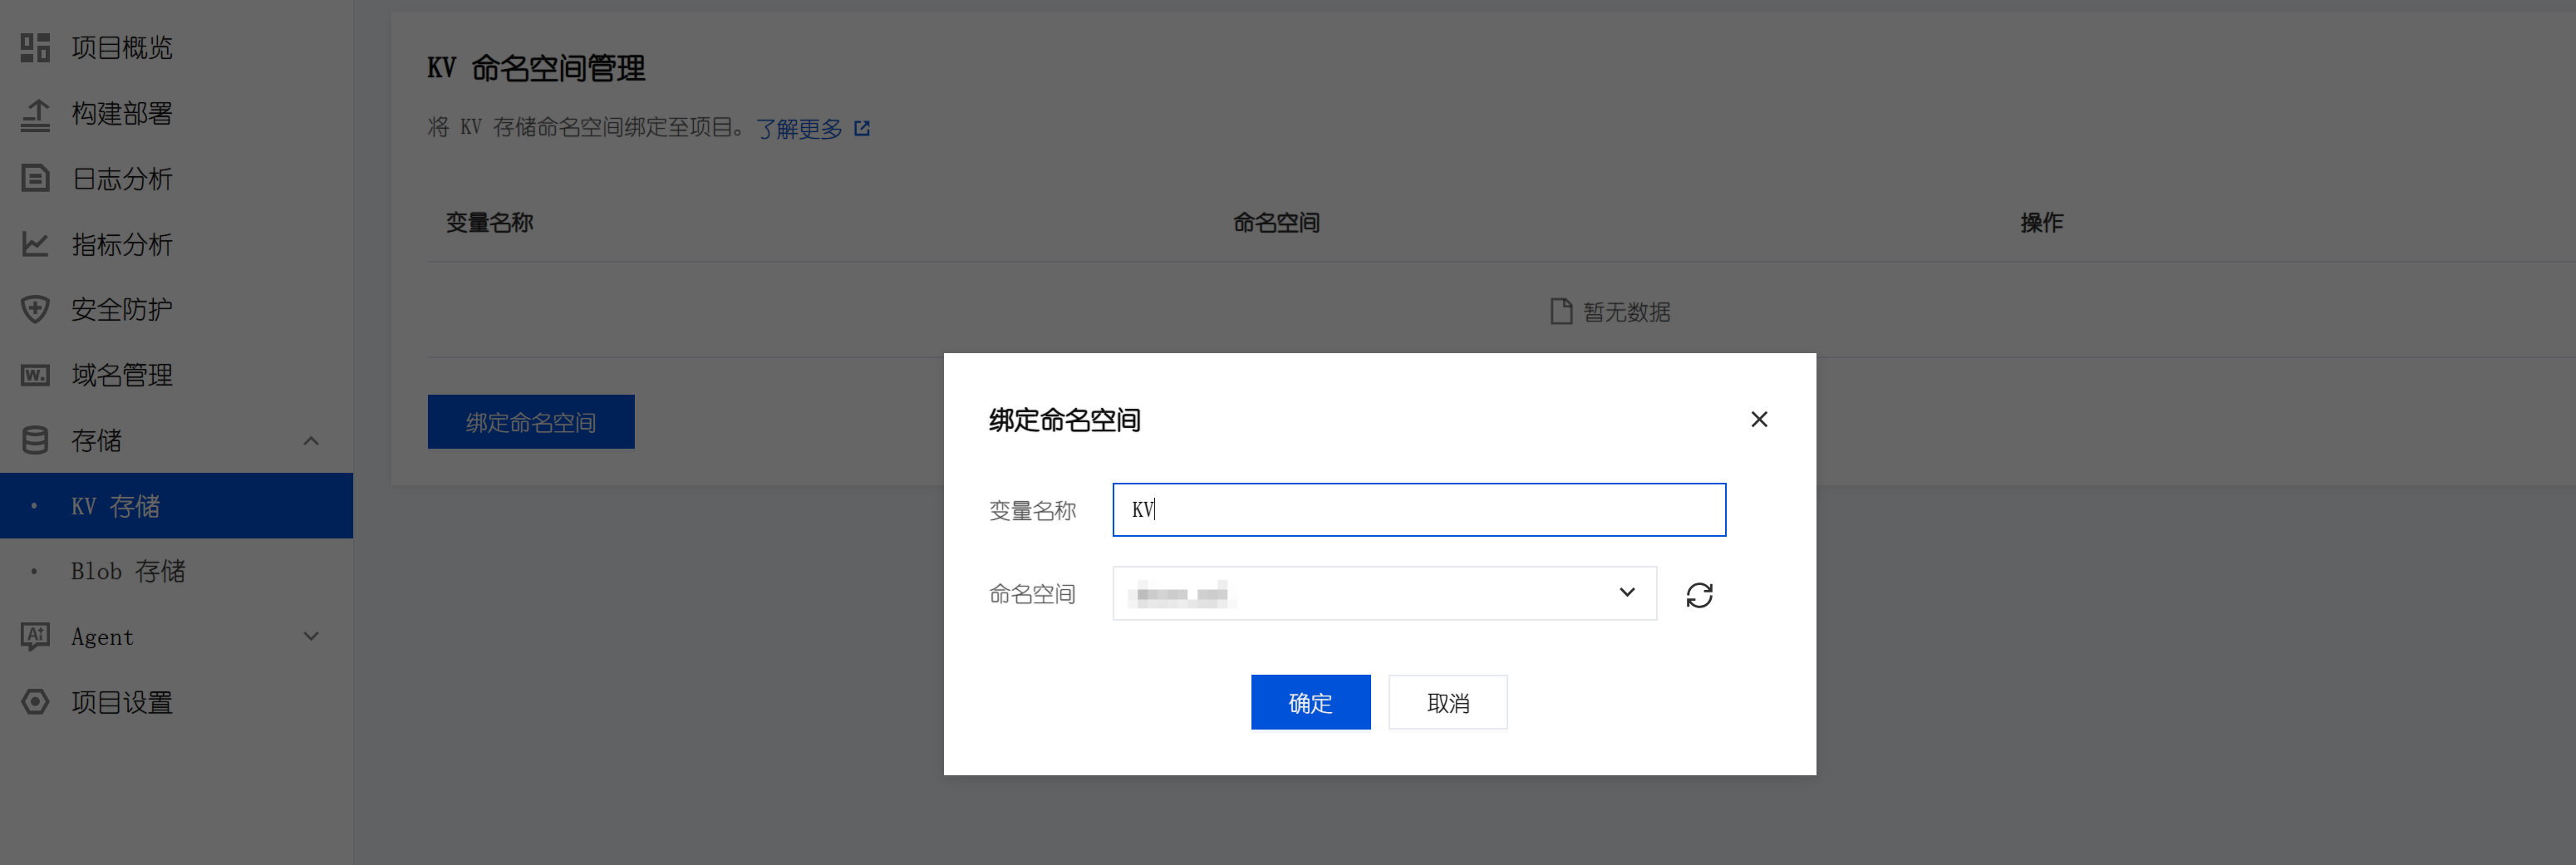
If you use KV storage in the environment variables, you must bind the KV variable to your namespace under Storage → KV Storage:
Step 4: Configure a custom domain
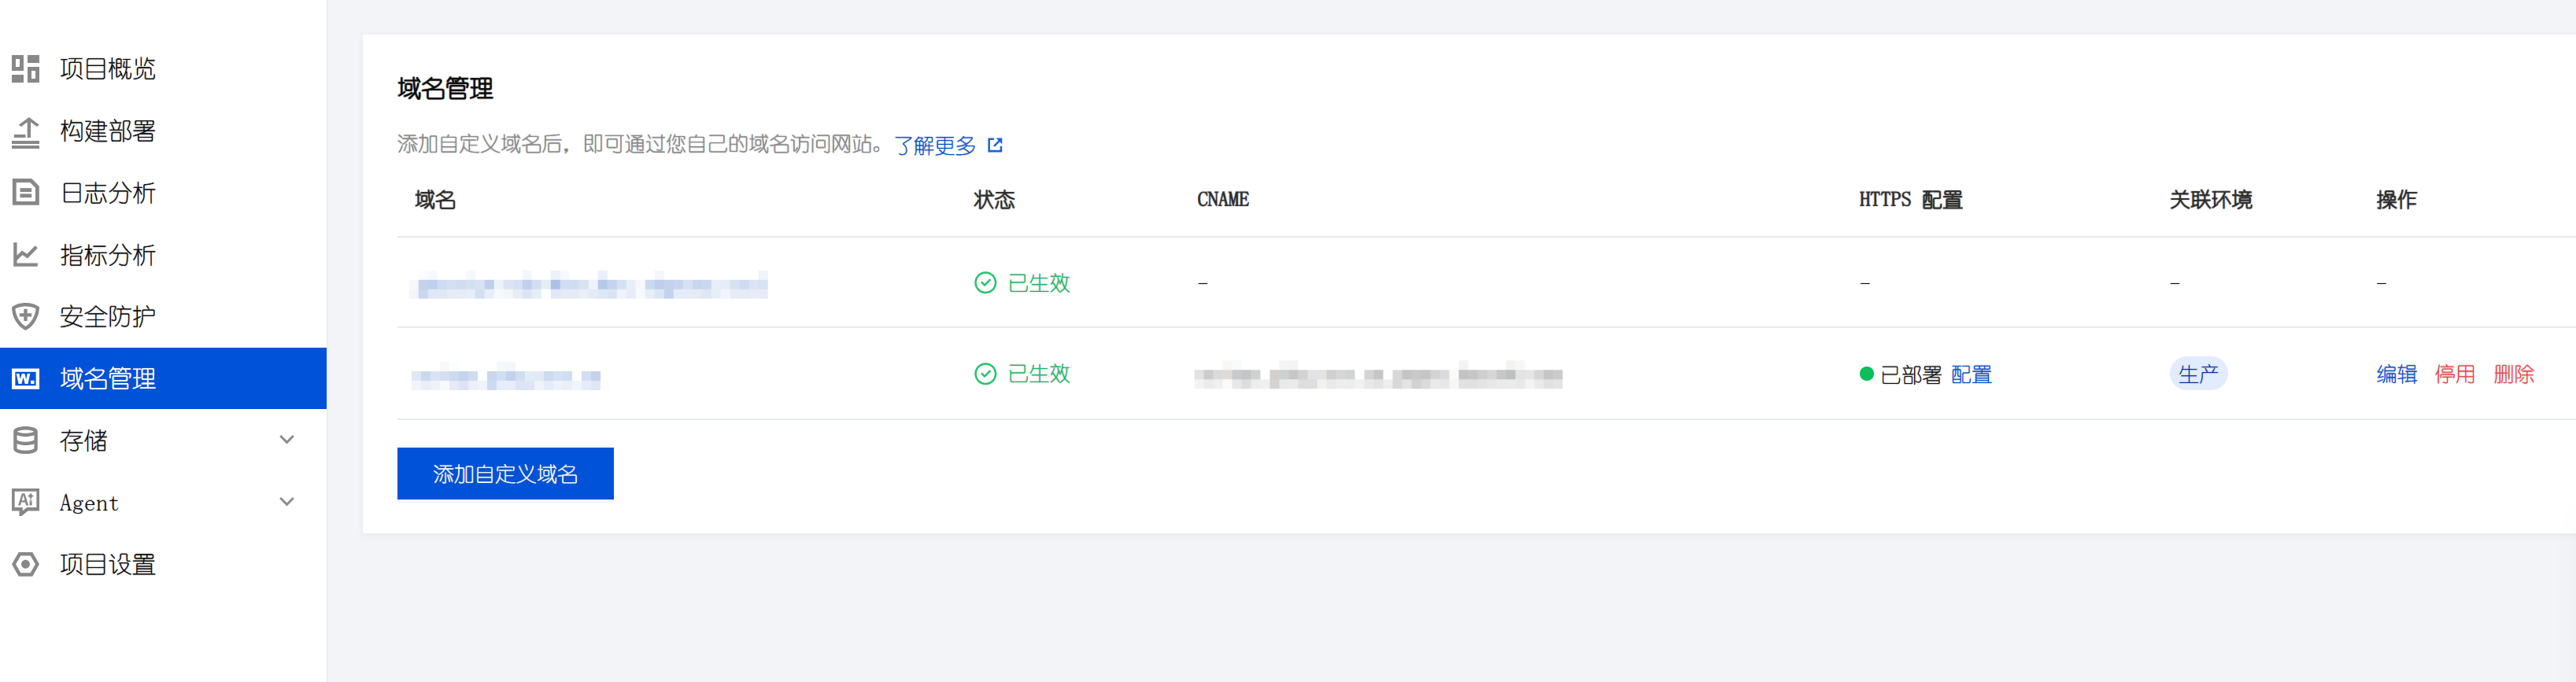
After deployment, open Domain management, add a custom domain, then set up the CNAME record as required and enable SSL:
Step 5: Scheduled tasks
EdgeOne supports scheduled refresh via edgeone.json. Set cron_secret in the payload to your JWT_SECRET value and configure the schedule:
{
  "schedules": [
    {
      "name": "token-refresh",
      "cron": "0 2 * * *",
      "path": "/api/task/refresh",
      "method": "POST",
      "payload": { "cron_secret": "" },
      "timezone": "Asia/Shanghai",
    },
  ],
}
After deployment
TIP
After deployment, the first visit to the site automatically enters an install wizard. Set the admin account and password in the browser to complete initialization — no pre-configured ADMIN_PASS is required.
前置要求
- 一个 腾讯云 EdgeOne 账号
- 一个 GitHub 账号(用于连接仓库)
步骤 1:部署应用
点击上方的 EdgeOne 部署按钮,选择国际站或中国站:
步骤 2:设置变量
点击新建应用,选择 Fork 的仓库,设置变量后点击「开始部署」:
必选变量(DB_FORMAT、DB_DRIVER),见本页末尾的 配置变量 章节。
持久化
EdgeOne Makers 使用 @edgeone/pages-blob 进行持久化。默认的 auto 驱动会自动探测 Blob,无需额外配置。你也可以显式设置:
DB_DRIVER = "blob"配合DB_FORMAT = "map"(JSON 存储)DB_DRIVER = "kv"配合DB_FORMAT = "key"(Key-Value 存储)
步骤 3:绑定存储
如果您在环境变量使用了 KV 存储,则必须在 存储 → KV 存储 中绑定变量 KV 到您的命名空间:
步骤 4:设置域名
部署完成后,点击域名管理,添加自定义域名,然后按要求设置 CNAME 并启用 SSL 即可:
步骤 5:定时任务
EdgeOne 通过 edgeone.json 支持定时刷新。将 payload 中的 cron_secret 设为你的 JWT_SECRET 值,并配置定时规则:
{
  "schedules": [
    {
      "name": "token-refresh",
      "cron": "0 2 * * *",
      "path": "/api/task/refresh",
      "method": "POST",
      "payload": { "cron_secret": "" },
      "timezone": "Asia/Shanghai",
    },
  ],
}
部署后初始化
TIP
部署完成后,首次访问站点会自动进入安装向导,在浏览器中设置管理员账号与密码即可完成初始化,无需预先配置 ADMIN_PASS。
For a full list of environment variables and recommended configurations, see Environment Variables.
完整的环境变量说明与推荐配置组合,请参阅 配置变量。